Window Parts Replacement: A Comprehensive Guide
Windows are an important function of any building, providing natural light, ventilation, and insulation. However, with time, window parts may wear out or get harmed, demanding a replacement. Comprehending the various parts of a window and the procedure for changing them can conserve homeowners time and cash while making sure energy efficiency and looks are kept. This post uses a detailed summary of window parts replacement, marking the elements, typical issues, replacement tools, and detailed instructions for DIY lovers.
Understanding Window Components
Before diving into replacement treatments, it's important to determine the main parts of a window. Here's a breakdown of the essential components:
| Component | Function |
|---|---|
| Frame | Supports the window structure and holds all parts. |
| Sash | The part of the window that holds the glass panes. |
| Glass Pane | Offers presence while insulating against the elements. |
| Weatherstripping | Seals spaces around the window to boost energy efficiency. |
| Operable Hardware | Consists of locks and cranks that allow windows to open and close. |
| Screen | Prevents pests from going into while allowing air flow. |
| Casing | Decorative trim that surrounds the window frame. |
Each of these parts can experience wear with time. Here's a deeper dive into common replacement needs.
Common Issues that Require Window Parts Replacement
Determining problems early can avoid substantial damage to your windows. Here are some normal concerns that might trigger a replacement:
- Broken Glass: Often the outcome of mishaps or extreme weather condition.
- Decomposed Frame: Common in wooden frames that have actually been exposed to wetness.
- Inadequate Weatherstripping: Leads to drafts and increased energy costs.
- Malfunctioning Locks: Compromises security and can result in additional problems.
- Harmed Sash: Can affect the window's operability and energy effectiveness.
- Worn Screens: Can minimize airflow and let insects into the home.
Tools You'll Need for Replacement
When preparing to change numerous window parts, having the right tools on hand can make the process smoother. Here's a list of necessary tools:
- Screwdriver (flathead and Phillips)
- Utility knife
- Prying tool (such as a putty knife)
- Measuring tape
- Replacement parts (glass, frame, weatherstripping, etc)
- Caulk and caulking weapon
- Security goggles and gloves
Step-by-Step Guide for Replacing Common Window Parts
Changing Glass Panes
- Security First: Put on gloves and security goggles to secure against sharp glass.
- Eliminate the Sash: If the window is a double-hung or sash window, start by getting rid of the sash from its frame.
- Secure the Broken Glass: Gently pry away any trim or glazing that holds the glass in location. Thoroughly eliminate Window Doctor broken glass.
- Clean the Frame: Remove any debris or old putty to prepare for the brand-new glass.
- Place New Glass: Cut a replacement glass pane to fit comfortably in the frame, then secure it with glazing substance or hardware.
- Re-install the Sash: Carefully raise the sash back into place and look for correct performance.
Changing Weatherstripping
- Identify the Areas Needing Replacement: Look for gaps around the window frame.
- Get Rid Of Old Weatherstripping: Carefully peel away old strips using an energy knife or prying tool.
- Procedure the New Weatherstripping: Cut weatherstripping to fit the window frame.
- Install the New Strips: Stick the new weatherstripping onto the frame, pushing firmly to make sure an excellent seal.
- Examine for Gaps: Close the window to evaluate for any drafts.
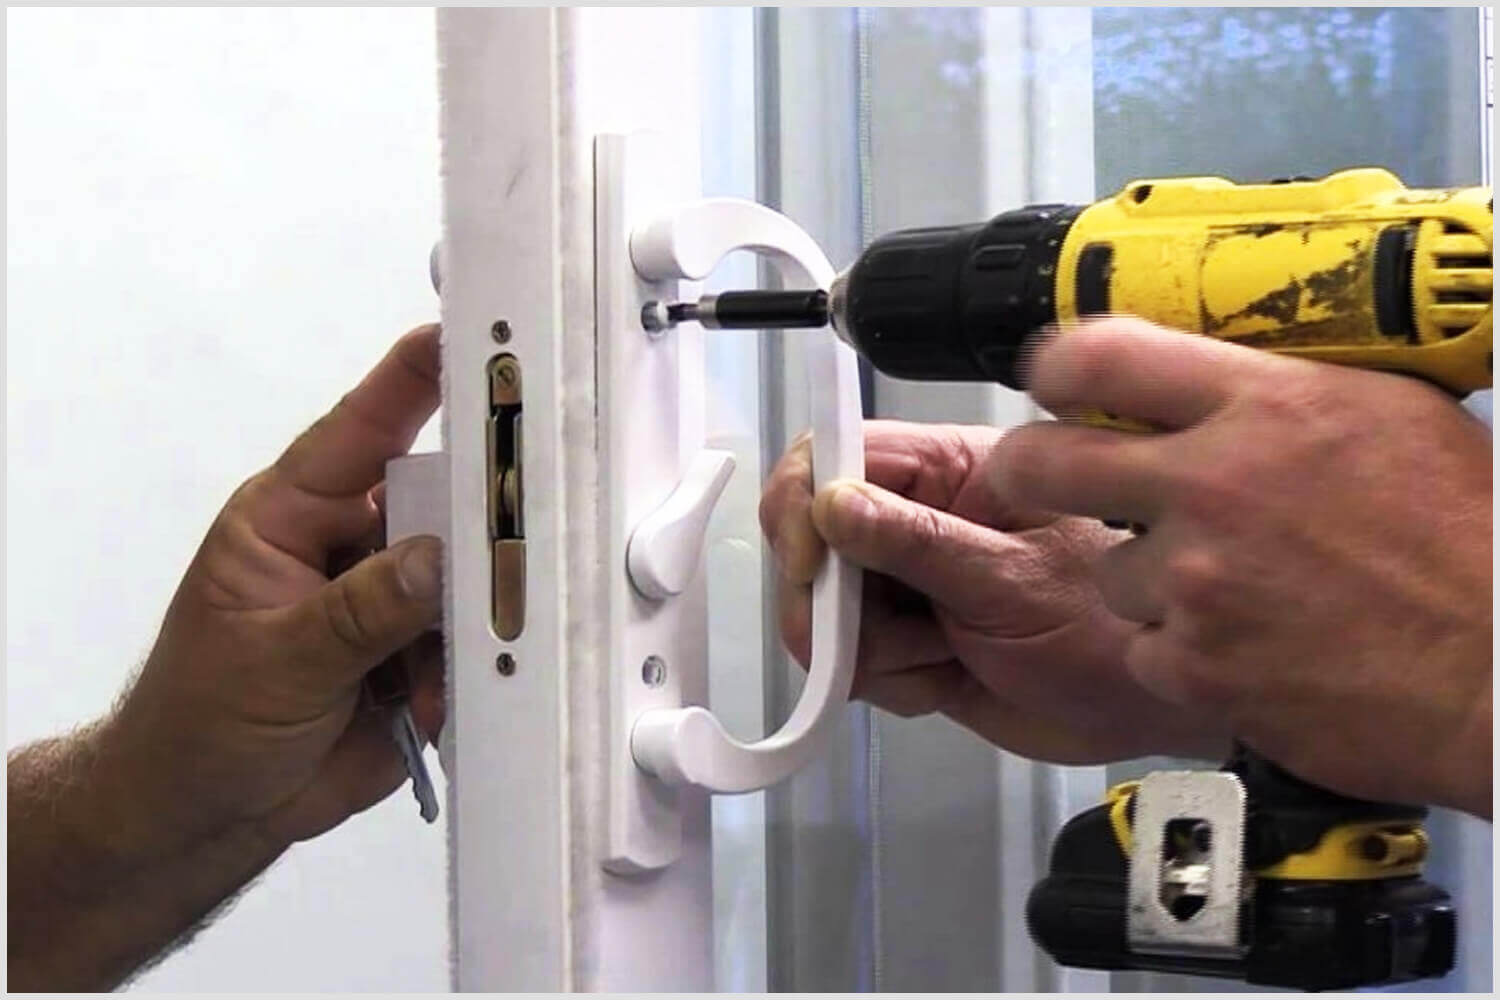
Changing Window Locks
- Eliminate the Old Lock: Use a screwdriver to remove the existing lock from the frame.
- Select the Right Replacement: Make sure the new lock matches the size and type of the old one.
- Install the New Lock: Position the new lock correctly and secure it with screws.
- Test the Lock: Ensure the lock operates smoothly.
Changing Screens
- Get Rid Of the Old Screen Frame: If the screen can be removed from the inside, carefully separate it.
- Step for New Screen: Measure the screen size to make sure the new frame fits well.
- Install the New Screen: Attach the screen into the frame safely, guaranteeing there are no spaces.
- Reinstall the Frame: Place the screen back in its original place.
Frequently Asked Questions About Window Parts Replacement
Q1: How do I understand which parts to change?
- A: Inspect the window completely for any damage, drafts, or practical issues. Common replacements include glass panes, weatherstripping, and locks.
Q2: Can I replace window parts myself?
- A: Yes, lots of property owners can replace window parts themselves with the right tools and guidance, but for comprehensive restorations, hiring a professional may be sensible.
Q3: What should I consider when picking replacement parts?
- A: Consider compatibility with existing windows, quality (appearance for energy-efficient products), and durability.
Q4: How can I maintain my windows to prevent replacements?
- A: Regularly clean and inspect windows, ensuring they are caulked correctly, and replace weatherstripping as required.
Q5: Are there warranties on replacement window parts?
- A: Many producers offer guarantees on window parts. Constantly look for specifics at the time of purchase.
Window parts replacement does not have to be a difficult task. With a basic understanding of the parts, common issues, and the right tools, house owners can deal with replacements successfully. Routine maintenance, paired with timely replacements, will help make sure that windows remain practical, visual, and energy-efficient for years to come. By being proactive, house owners can save on energy costs and boost the convenience of their home.